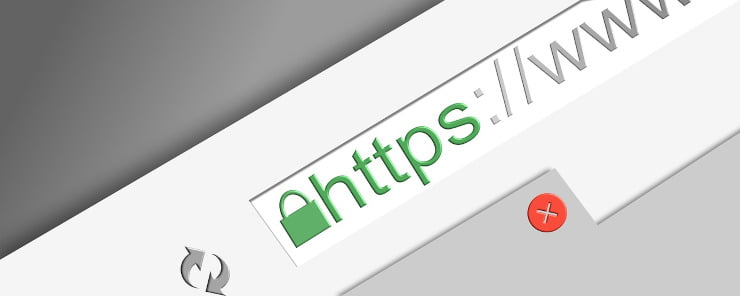
The internet has been going secure for a long time, and it’s only becoming more important. From HTTPS’ effects on rankings to browser warnings when a site isn’t secure, not having a valid SSL certificate can hold your site back. It can also prevent the different parts of your site from talking to each other. Getting an SSL certificate doesn’t have to be expensive, even when your setup is more complicated.
How Juicer Feeds Went HTTPS for Free
It’s possible to get free SSL on Heroku, albeit in a somewhat limited fashion. We did this on Juicer. We were looking for an easy way to keep our monthly costs low, while still allowing users to embed their Juicer feeds on HTTPS sites (it would throw an error otherwise if we didn’t support SSL).
All of our embed code (JS and CSS) is hosted on assets.juicer.io, which is an Amazon Cloudfront Distribution. We needed this distribution to have an SSL certificate. Additionally, these assets need to talk to our API, which is hosted on Heroku. It seemed just about impossible to do it all for free but we pulled it off. Here’s what we needed to do:
How to Get a Free SSL Certificate
This was the easiest part, but still a pain. Get a free SSL certificate from somewhere trustworthy like Letsencrypt or ZeroSSL. I got our free certificate from StartSSL. Their interface is a bit clunky, so it took me a while to get the SSL certificate, but eventually I managed it. Of course, almost immediately after I did it, I discovered this guide from Digital Ocean that walks you through the whole process of getting your free SSL certificate. Follow their guide until you get the certificate, then come back to us. Make sure that the domain to which you register the certificate is the same domain that will be hosting your assets.
Add the SSL Certificate to Your Cloudfront Distribution
First, we had to upload our SSL certificate to AWS via IAM. The easiest way to do this is with the AWS CLI. Install it using Homebrew (if you are on a mac)
brew install awscli
You may need to reinitialize your $PATH for the cli to work in your terminal. I generally do it like so:
source ~/.bash_profile
Then you should be able to use the CLI to upload your SSL Certificate. Use this command:
aws iam upload-server-certificate --server-certificate-name YOUR_CERTIFICATE_NAME --certificate-body your/path/to/ssl.crt --private-key your/path/to/private.pem --certificate-chain your/path/to/bundle.pem --path /cloudfront/
Then, you’ll have to log in to your AWS, go to CloudFront, and create a new distribution using the CNAME of your assets domain (and make sure to select the correct S3 bucket), and selecting:
SSL Certificate: Custom SSL Certificate (stored in AWS IAM)
Custom SSL Client Support: Only Clients that Support Server Name Indication (SNI)
Once that distribution propagates, you should be able to access it over SSL.
Have the Assets Hosted on Cloudfront Talk to Your API via SSL
Once we got the SSL certificate set up, we thought we were fine and dandy, until we realized that our assets talk to our API, which is hosted on Heroku. Obviously, an HTTPS connection (our assets) can’t talk to our Heroku app (non-SSL) without some issues.
Luckily we discovered Heroku’s wildcard SSL certificate. So in our assets, we changed our API root from http://api.juicer.io to https://juicer-api.herokuapp.com
This SSL setup clearly has some limitations. For example, you can’t write to the HTTPS herokuapp URL, so we had to make sure that our embed assets only did GETs from that URL, and used the normal API URL for POSTs and PUTs.
Hope this helps! Want to know more about our API services? Check out social media feed API page.